

Quick Start
From sign-up to a running pentest, with nobody to wait for
Prerequisites
Before you begin, make sure you have:
- A work email address for your account
- The URL of the web application or API you want to test
- A way to prove you own its domain: access to the domain's DNS, or the ability to deploy a static file to the host
- Authorization to perform security testing on the target
Only test applications you own or have explicit written permission to test. Unauthorized security testing is illegal, which is why every application proves domain ownership before its first pentest.
Step 1: Create Your Account
- Visit modernpentest.com/sign-up
- Sign up with your work email and create a password
- Verify your email address
- Create your organization
On registration you are asked to create a new organization. If you want to join an existing organization instead, ask its owner to invite you before signing up.
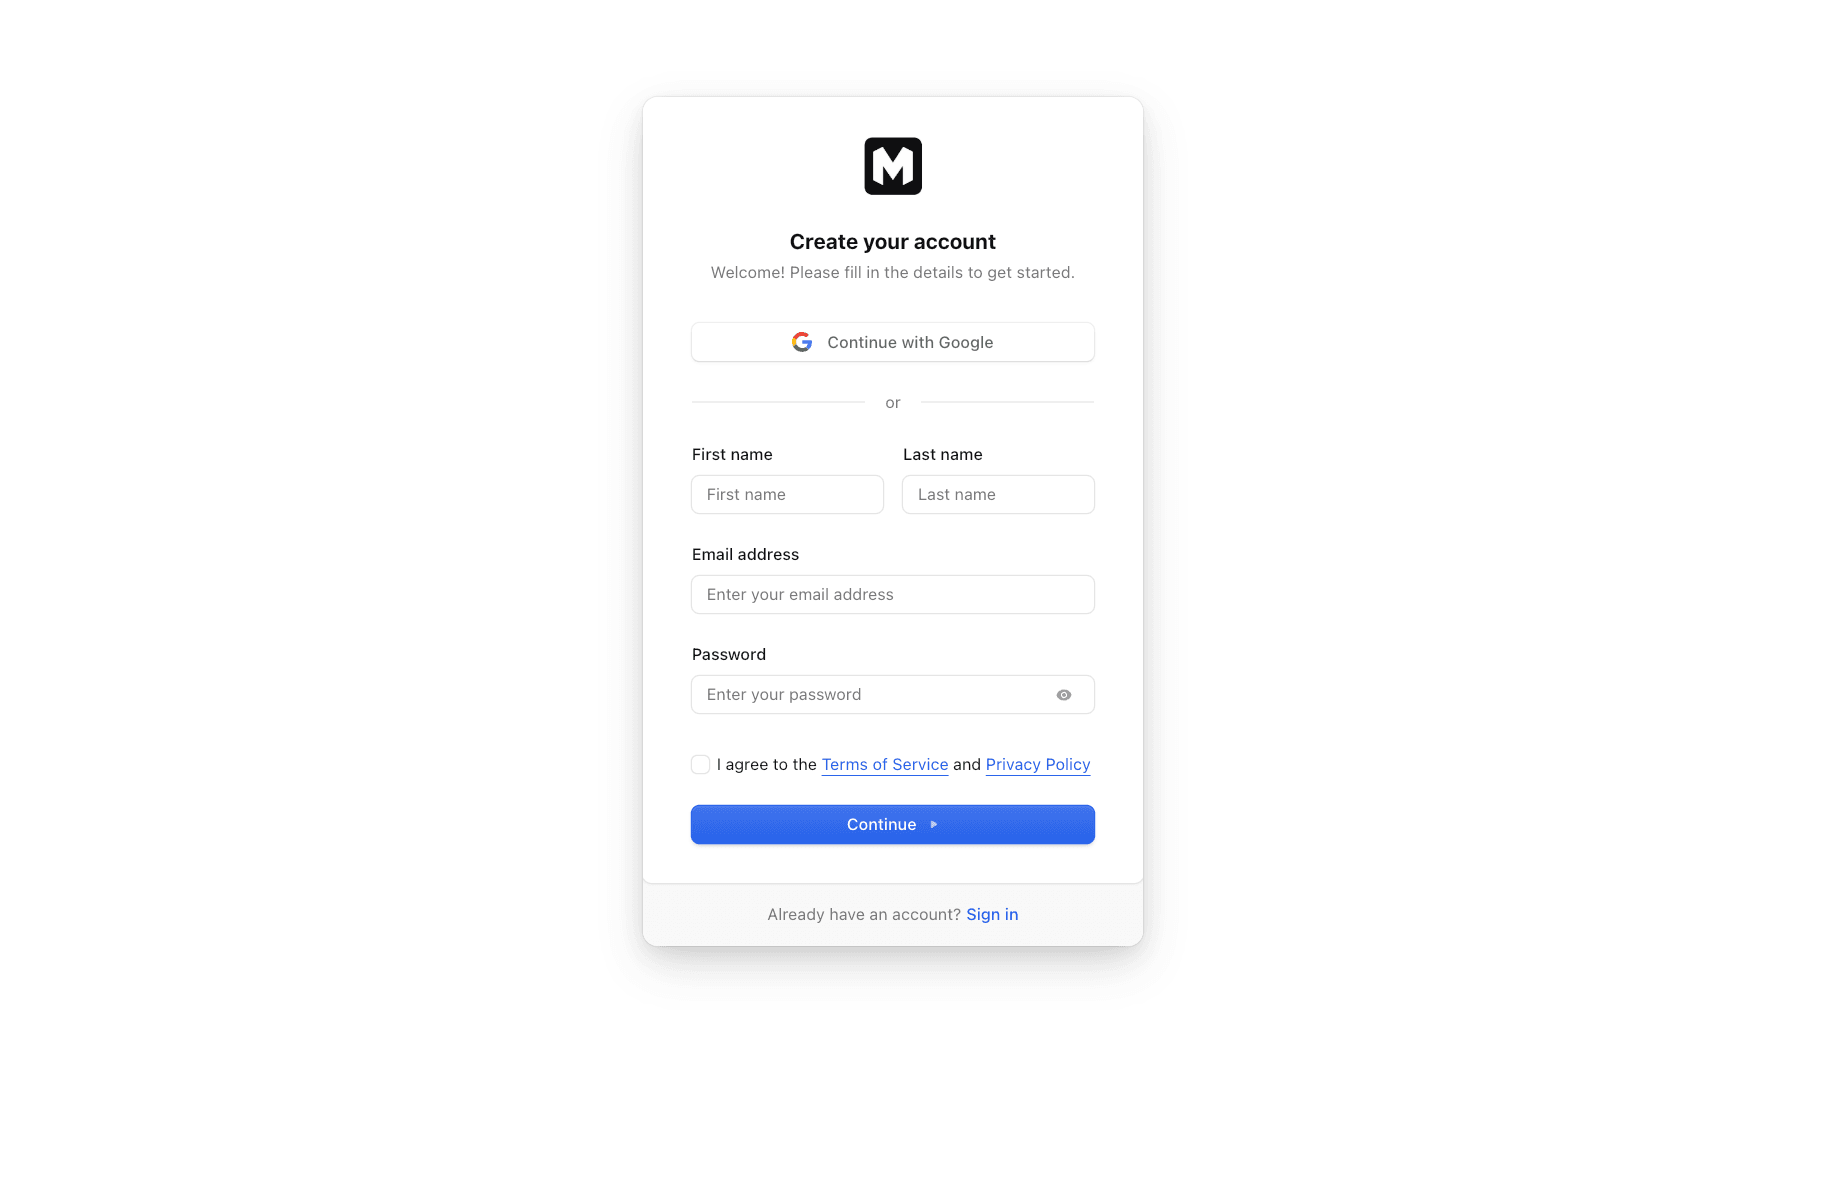
Your organization is ready the moment it is created. There is no approval queue and no call to book; the dashboard opens straight away. Organizations let you collaborate with team members and manage multiple applications under one account.
Step 2: Choose How to Add Your Application
Click Add Application in the dashboard. The recommended option connects your coding agent through MCP; the manual option lets you enter the setup yourself.
With your coding agent (recommended)
Connect Claude Code or Cursor from the application repository. Your agent finds the deployment, authentication and OpenAPI specification, prepares dedicated test users with your own tooling, and registers or updates the application. It shows the proposed setup before writing and asks you to approve the targets and entitlement before a scan starts. Follow Enroll from your repository for the complete flow.
Manually
The setup wizard walks you through application details, web and API surfaces, test users, one-time-code sources and scheduling.
For authenticated coverage, finish the test accounts before proving ownership:
- Include both web and API surfaces when they belong to the same product.
- Provide at least two dedicated test users from different tenants or teams when your app supports them.
- Include the roles you want tested and configure any required sign-in code source.
See Adding Applications for the full configuration.
Step 3: Prove You Own the Domain
After you save, the application offers a verification panel for each target host. Your coding agent can also retrieve the exact values over MCP. Two methods are available:
- HTTPS file: serve
https://<host>/.well-known/modernpentest-verify.txtcontaining the line shown. This is immediate: deploy the file, press Check now, done. - DNS TXT record: add the record shown at
_modernpentest-verify.<host>. It is one record per host, and DNS changes take minutes to a few hours to reach our resolver, so this is the slower route the first time.
Publish whichever you can for each host, then press Check now.
A proof never expires, so a host you prove now is proven for every application you add later that targets it.
Hosts on shared hosting suffixes such as *.vercel.app or *.run.app offer the file method only, because their DNS belongs to the provider.
The full rules, provider examples and troubleshooting are in Domain Verification.
Step 4: The Pentest Starts
If you requested an automatic first pentest during manual setup, it starts once every host is proven. Otherwise, start it from the application page or approve the start in your coding agent. MCP registration by itself never starts a pentest.
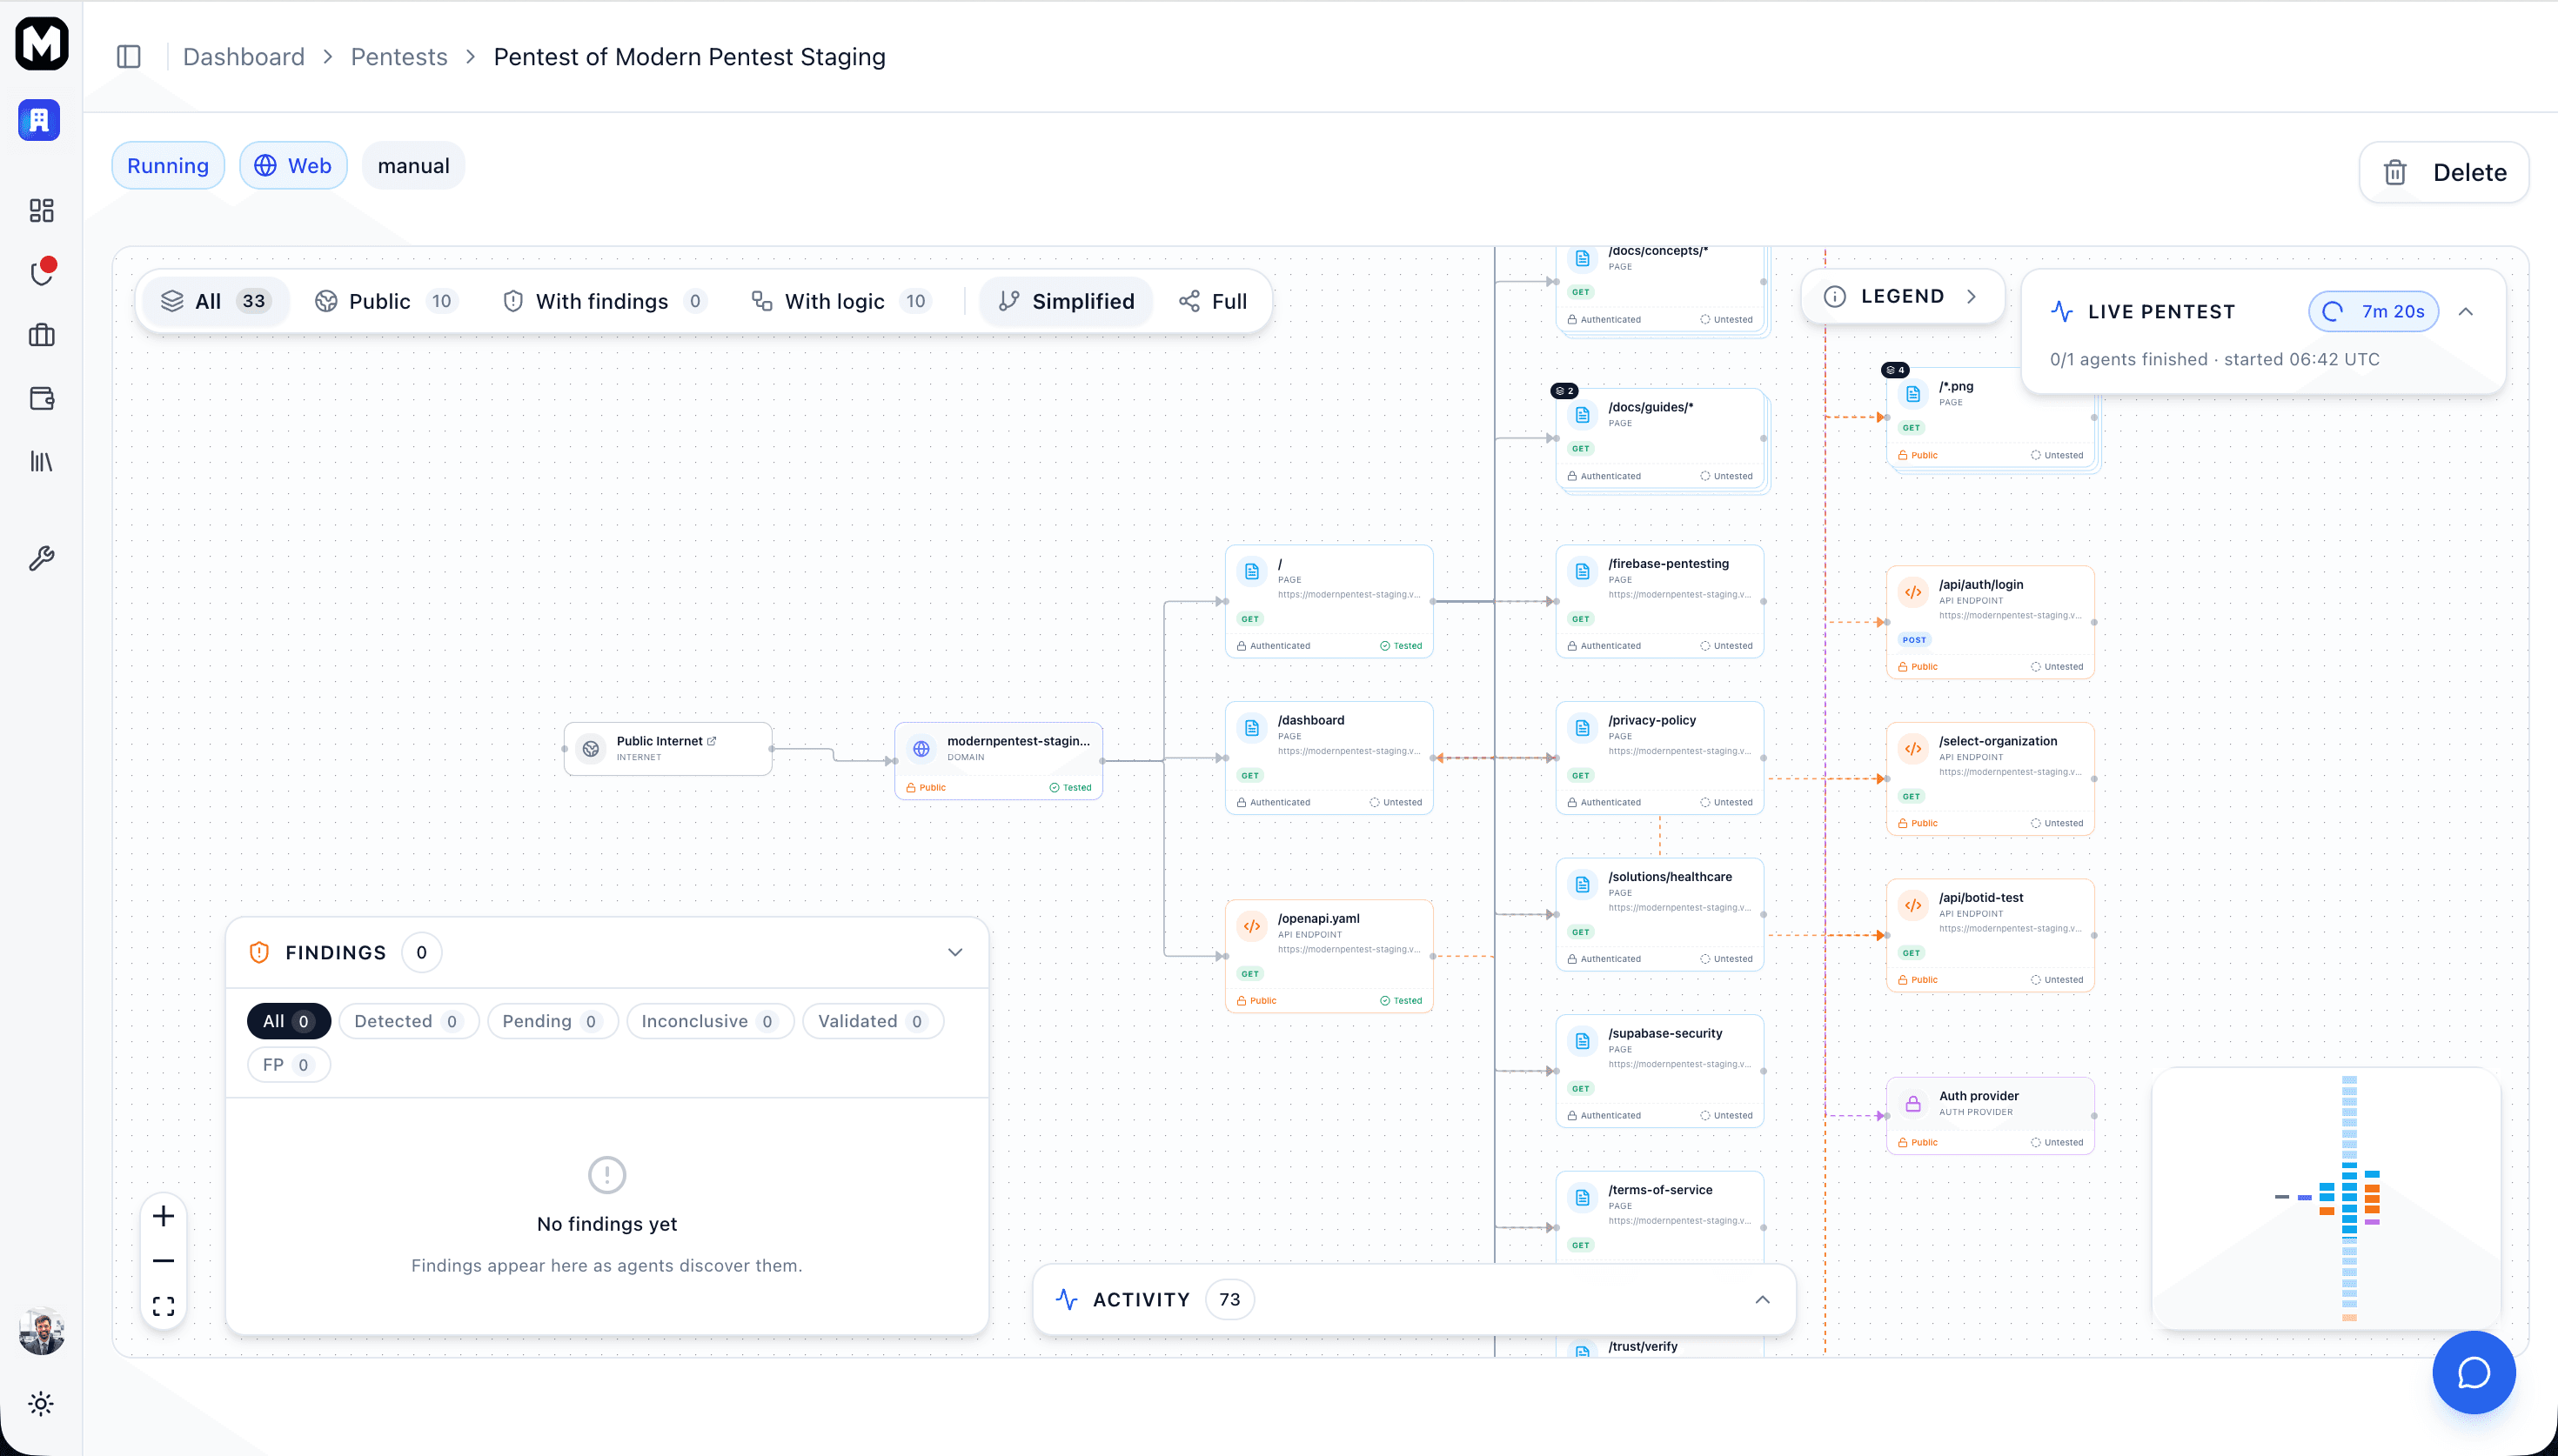
The live pentest page shows progress:
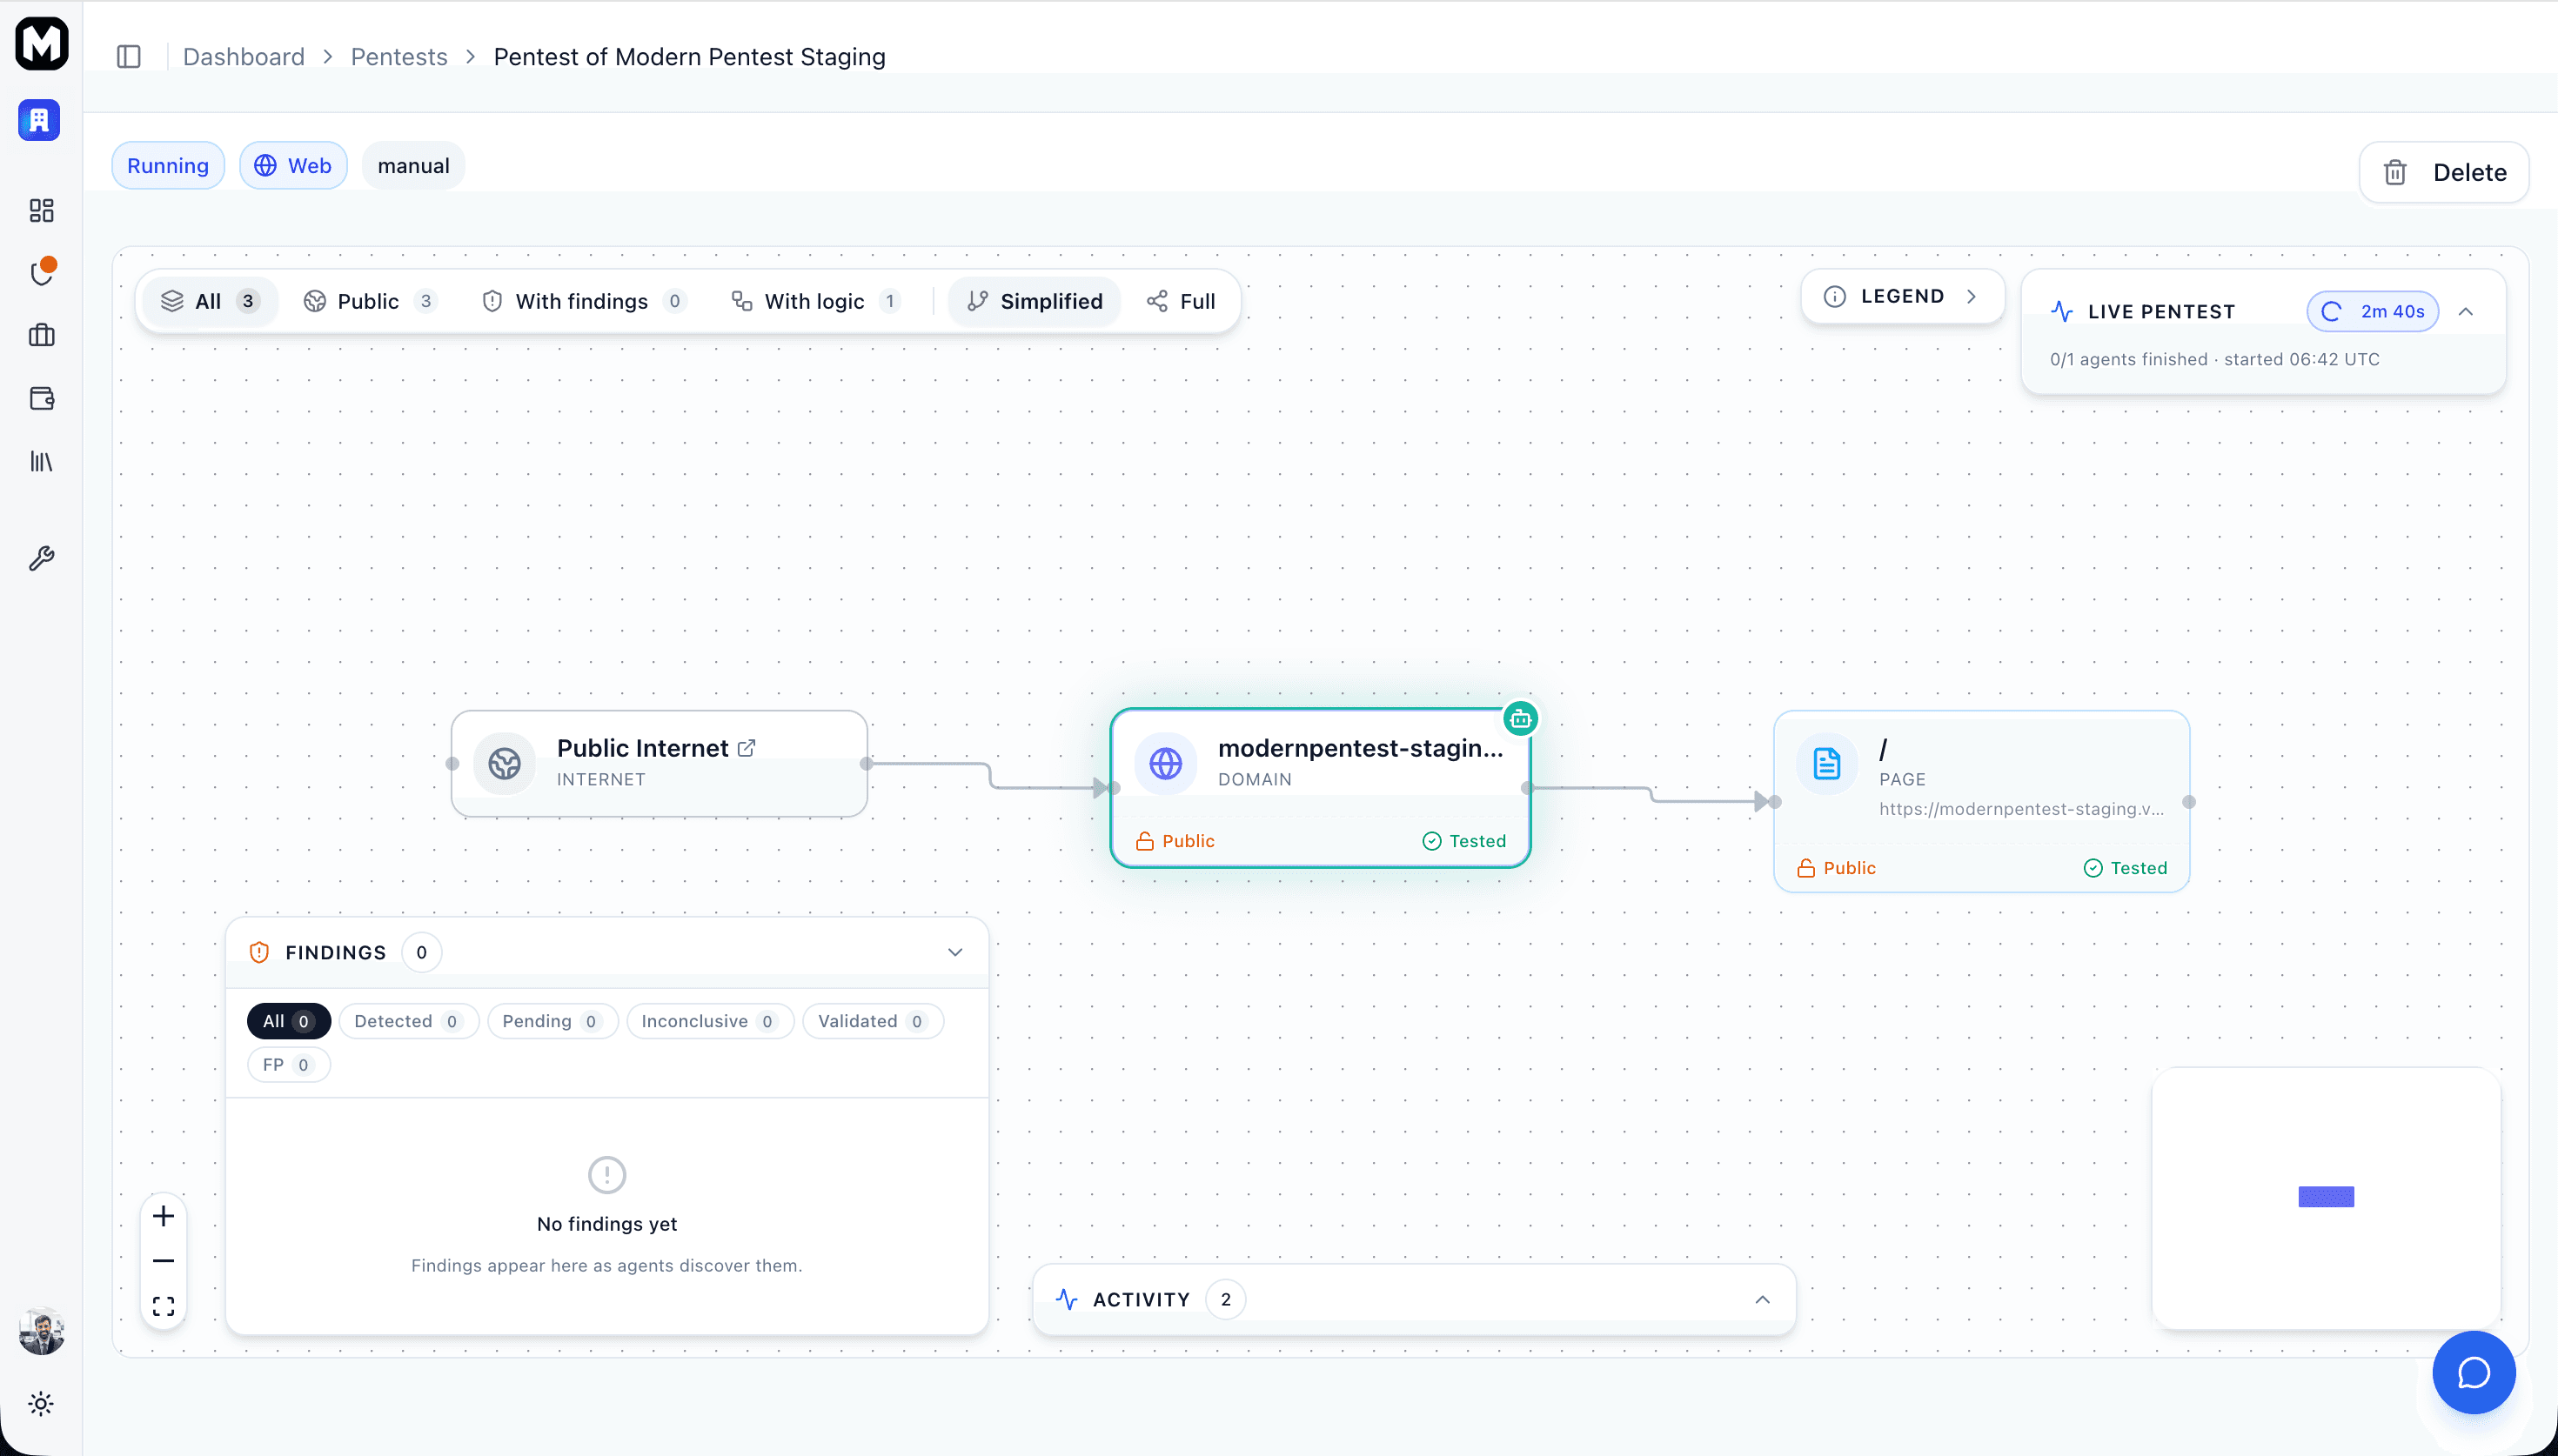
Monitor Progress
Watch the pentest in real time:
- Testing: several AI agents test for vulnerabilities in parallel
- Real Time Activity: findings are reported as they are confirmed
Step 5: Review Results
When the agents finish, the platform consolidates the findings and generates the report. You are taken to the pentest report page with every vulnerability found:
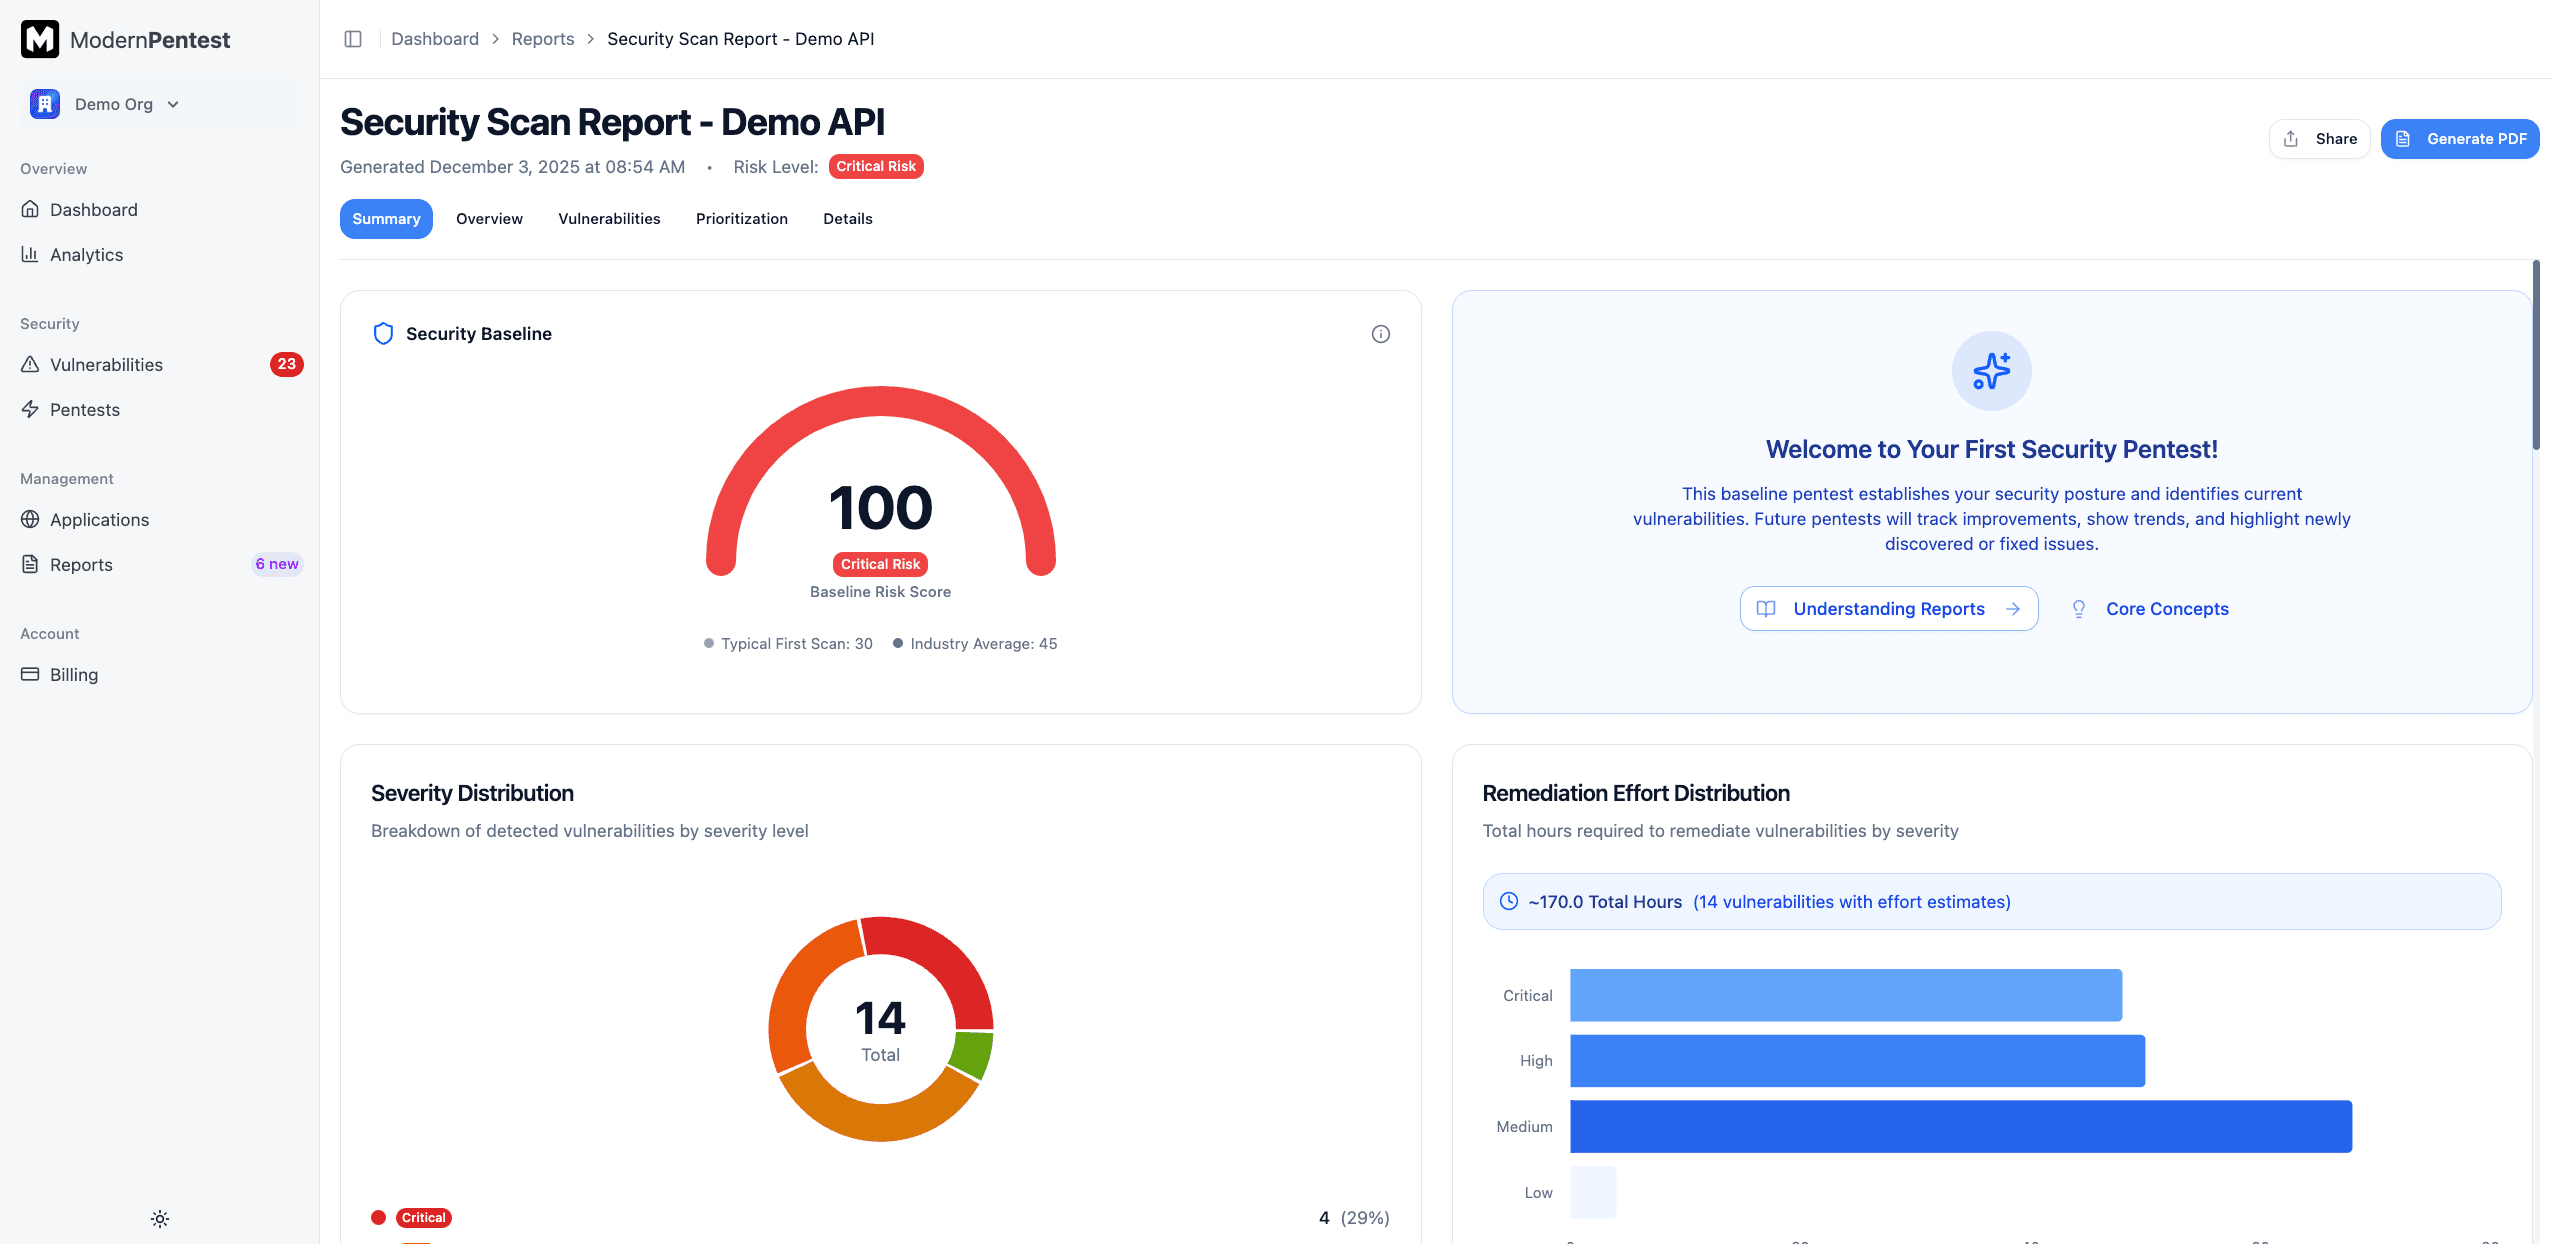
For guidance on reading a report, see Understanding Reports.
What's Next?
- Add more applications to expand your coverage
- Set up integrations with Slack and Jira
- Learn about SOC 2 reports for compliance
- Understand how our agents work for deeper insight
- Do all of this from an agent over the MCP server
Last updated: September 7, 2026